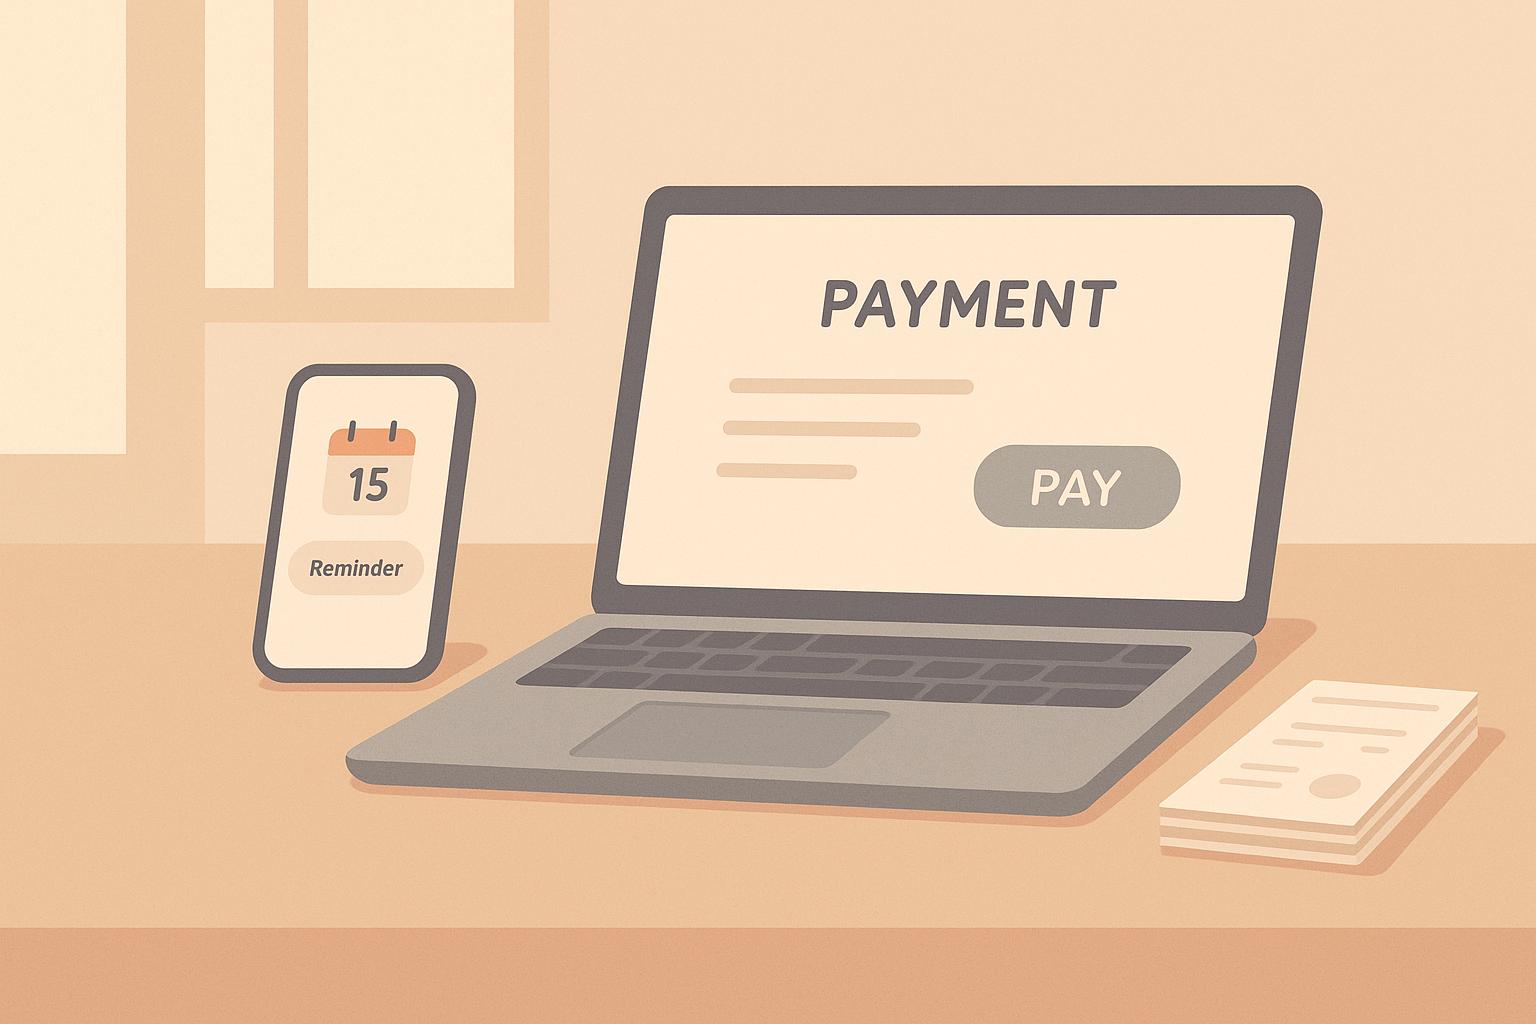
Keeping up with bills can be stressful and time-consuming. Automatic bill payments can simplify your life by ensuring payments are always on time, avoiding late fees, and keeping your finances organized. Here’s a quick guide to get started:
- Why Set Up Auto-Pay?
- Never miss a payment or face late fees.
- Protect your credit score.
- Save time by automating recurring bills.
- Stay organized with clear payment schedules.
- What You’ll Need:
- Account statements and payment details.
- Bank account or card info.
- Payment schedules (due dates, amounts).
- Routing numbers and billing addresses.
- Choose Your Payment Method:
Method Best For Key Benefits Considerations Checking Account Rent, utilities No fees, direct access to funds Requires sufficient balance Credit Card Streaming, phone bills Rewards, fraud protection Risk of interest charges Debit Card Small recurring charges Immediate payments Limited fraud protection - Steps to Set Up Auto-Pay:
- Log into your bank account and navigate to the "Bill Pay" section.
- Add billers with details like account numbers and payment addresses.
- Set payment rules (frequency, amount, timing).
- Tips for Success:
- Schedule payments 3–5 days early to avoid delays.
- Regularly review your payment schedule.
- Monitor your account balance to prevent overdrafts.
Tools like Fullness can assist with reminders, tracking, and alerts to keep your finances running smoothly.
How to automate your bill payments?
Before You Start
Setting up automatic bill payments can save you time and help you avoid late fees, but preparation is key. Make sure you have all the necessary details and choose the right payment method to keep things running smoothly. Here’s what you need to know before getting started.
Required Documents and Information
To set up automatic payments, you’ll need to gather the following:
- Account statements: These should include your account numbers and payment details for each service provider.
- Bank account or card information: Decide which account or card you’ll use to make payments.
- Payment schedules: Know your due dates and any minimum payment amounts required.
- Login credentials: Have your usernames and passwords ready for your online banking or bill payment accounts.
- Routing numbers: These are essential for bank-to-bank transfers.
- Billing addresses: Ensure you have the correct billing address linked to each account.
Keep this information secure and easily accessible, as you’ll need it throughout the setup process.
Select Your Payment Source
Choosing the right payment method is just as important as gathering your documents. Here’s a quick comparison of common options:
| Payment Method | Best For | Key Benefits | Important Considerations |
|---|---|---|---|
| Checking Account | Regular bills, rent, utilities | No transaction fees, direct access to funds | Requires enough balance; overdraft risks |
| Credit Card | Streaming services, phone bills | Rewards points, fraud protection | Interest charges if unpaid; potential fees |
| Debit Card | Small recurring charges | Immediate payment, no debt buildup | Limited fraud protection; daily spending limits |
What to keep in mind:
- Processing time: Bank transfers can take 1–3 business days, while card payments are usually instant.
- Balance requirements: Always maintain enough funds to cover bills, plus a little extra for unexpected expenses.
- Fees: Some service providers may charge additional fees for credit card payments.
- Control and flexibility: Choose a method that allows you to manage payment timing effectively.
Using tools like Fullness’s expense tracking features can make this process easier. These tools can help you monitor your accounts and ensure you have enough funds for your automatic payments. Plus, their bill reminder feature can alert you to upcoming charges, reducing the chances of overdrafts or missed payments.
Online Banking Setup Steps
Setting up automatic bill payments through your online banking portal can help you avoid missed payments and late fees. Most major U.S. banks have similar processes for managing recurring payments, making it a straightforward task.
Log Into Your Bank Account
Here’s how to get started with bill pay:
- Log in with your username and password.
- Find the section labeled "Bill Pay", "Payments", or "Manage Bills."
- Select the option for automatic or recurring payments.
For added security, consider enabling two-factor authentication when managing your payments.
Set Up a New Biller
To add a new biller, you’ll need to provide specific details. Here’s what to include:
| Field | Required Information | Example |
|---|---|---|
| Biller Name | The company’s official name | Pacific Gas & Electric (PG&E) |
| Account Number | Your customer ID | 12345-678 |
| Payment Address | The company’s payment address | P.O. Box 997300, Sacramento, CA 95899-7300 |
| Phone Number | Billing support contact | 1-800-XXX-XXXX |
Make sure all the information is accurate – small errors can result in delayed or misrouted payments. Once the biller is added, set up payment rules to ensure everything runs smoothly.
Create Payment Rules
After adding your biller, you’ll need to define how and when payments will be made. Here’s what to consider:
- Frequency Options:
- Monthly
- Bi-weekly
- Quarterly
- Annual
- Payment Amount:
- Fixed amount
- Variable amount up to a maximum
- Full statement balance
- Timing: Schedule payments 3–5 business days before the due date to account for any processing delays.
Be sure to review your settings regularly, especially if your billing cycle or account details change. This will ensure payments continue without interruptions.
sbb-itb-e671417
Using Fullness for Bill Payments

Simplify your bill payments with Fullness’s easy-to-use features that keep your schedule organized and visible.
Link Your Bank Accounts
Securely connect your bank accounts with Fullness using encryption that meets the highest security standards:
- Go to the Account Settings section in your Fullness dashboard.
- Click on "Link Financial Account."
- Select your bank from the list of verified institutions.
- Enter your banking credentials.
- Complete your bank’s identity verification process.
Once linked, Fullness syncs your account data, giving you a complete view of your finances. From there, you can use the built-in tools to monitor every transaction with ease.
Track Your Payments
After connecting your accounts, take advantage of these features to stay on top of your bills:
| Feature | What It Does | What You Need to Do |
|---|---|---|
| Bill Reminders | Helps you avoid missing due dates | Set alerts to ensure enough funds are available. |
| Payment History | Keeps a record of past payments | Check your monthly statements. |
| Balance Alerts | Prevents overdraft fees | Set notifications for low balance limits. |
| Expense Categories | Organizes bills by type | Classify recurring payments for better tracking. |
Here’s how you can make the most of these tools:
- Set Up Bill Reminders: Schedule alerts to confirm you have enough funds before payments are due.
- Review Your Payment Schedule: Regularly check the payment calendar on your dashboard to stay ahead.
- Track Payment Status: Use the financial overview to confirm payments are processed correctly and identify any irregularities.
Fullness makes managing your bills straightforward and stress-free, so you can focus on what matters most.
Maintain Your Auto-Payments
Once you’ve set up your automatic payments, it’s important to keep an eye on them to ensure everything runs smoothly.
Check Your Payment Schedule
Regularly reviewing your payment schedule can help you avoid missed payments or surprise charges. With Fullness’s bill tracking tools, you can:
- See all upcoming payments in an easy-to-read calendar.
- Double-check payment amounts to ensure they match your actual bills.
- Verify payment dates align with your pay periods.
- Identify duplicate or suspicious charges before they become an issue.
Make it a habit to review your schedule at least once a month to catch any problems early.
Monitor Account Balance
Having enough in your account is key to avoiding overdraft fees or declined payments. Here’s a simple guide to staying on top of your balance:
| Time Frame | What to Monitor | What to Do |
|---|---|---|
| Weekly | Account Balance | Check your balance and upcoming payments. |
| Monthly | Income Deposits | Ensure your paychecks align with your bills. |
| Quarterly | Payment History | Review past payments and adjust schedules if needed. |
Set up balance alerts to notify you when your account dips below a certain amount. Choose a threshold that covers your largest payment plus a little extra for safety.
Update Payment Cards
An expired card can throw a wrench in your autopay system, leading to missed payments and fees. Here’s how to avoid that:
- Set a reminder for three months before your card expires.
- Update your payment details in Fullness as soon as your new card arrives.
- Double-check your next payment to make sure it’s charged to the updated card.
Keep your old card active until you’re certain all payments are successfully processing with the new one. This ensures a seamless transition without disruptions.
Next Steps
Now that you’ve got your auto-pay setup in place, here’s how you can take your financial management to the next level:
Connect All Your Accounts
Bring all your payment accounts into Fullness. This gives you a clear, unified view of your payment history and account balances, making it easier to stay on top of things.
Enable Payment Alerts
Use Fullness to set up smart alerts. These notifications will remind you before payments are due, helping you avoid late fees and missed deadlines.
Regularly Check and Adjust
Make it a habit to review your auto-pay settings. Fullness offers tools to help you fine-tune your system, ensuring everything runs smoothly and stays aligned with your financial goals.
FAQs
How can I prevent overdraft fees when setting up automatic bill payments?
To steer clear of overdraft fees with automatic bill payments, it’s essential to ensure your account has enough funds well before the payment date. Keep a close eye on your account balance and try scheduling payments right after your paycheck hits – when your funds are typically at their highest.
Using personal finance tools can make this process much easier. These tools can help you track your cash flow and set helpful reminders so your account stays adequately funded. For example, platforms like Fullness offer insights into your spending habits, making it simpler to manage your finances and avoid unnecessary fees.
What should I do if an automatic bill payment doesn’t go through?
If an automatic bill payment doesn’t go through, here’s what you should do:
- Check your account balance: Make sure there’s enough money in your account to cover the payment. Insufficient funds are a common reason for failed transactions.
- Verify payment details: Double-check the payment amount, due date, and recipient information in your automatic payment setup. Even a small error could cause the payment to fail.
- Contact your bank or payment provider: Get in touch with your bank or the service handling the payment to find out why it wasn’t processed. They can offer insights and guide you on what to do next.
- Notify the biller: Let the company or service you were paying know about the issue. This can help you avoid late fees or service disruptions. Some billers may even provide a grace period or alternative payment options.
To avoid similar problems in the future, keep an eye on your account balance and periodically review your automatic payment settings to ensure everything is accurate and up to date.
What security precautions should I take when setting up automatic bill payments through online banking?
When setting up automatic bill payments, keeping your financial information secure should be a top priority. Here’s how you can protect your accounts:
- Create strong, unique passwords for your online banking accounts, and never reuse them on other platforms.
- Turn on two-factor authentication (2FA) if your bank provides the option. It’s an added layer of protection that’s worth enabling.
- Review your bank statements frequently to confirm all transactions are accurate and authorized.
- Steer clear of public Wi-Fi when accessing your banking apps or personal finance tools to reduce the risk of exposure.
Taking these steps allows you to enjoy the ease of automatic bill payments without compromising your account security.
Leave a Reply